
Last updated November 21, 2026
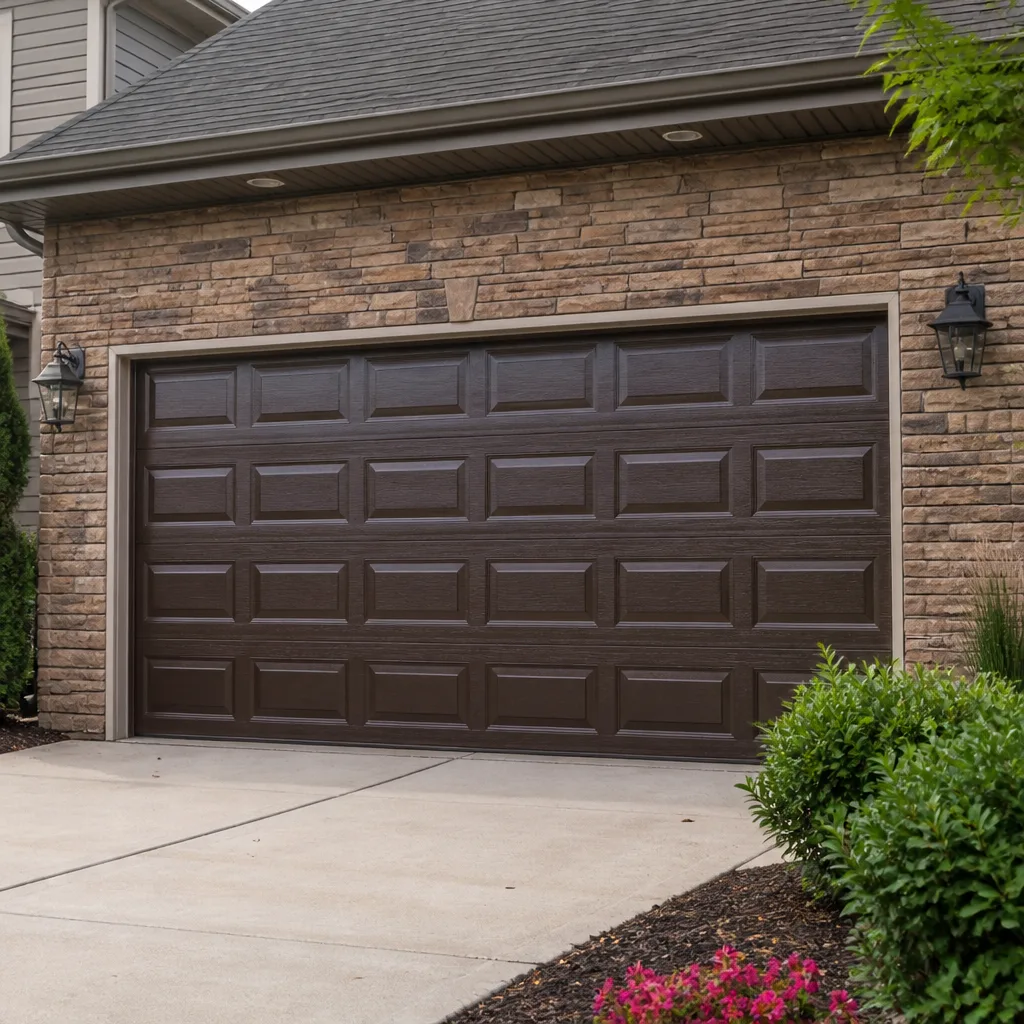 Raised-panel steel
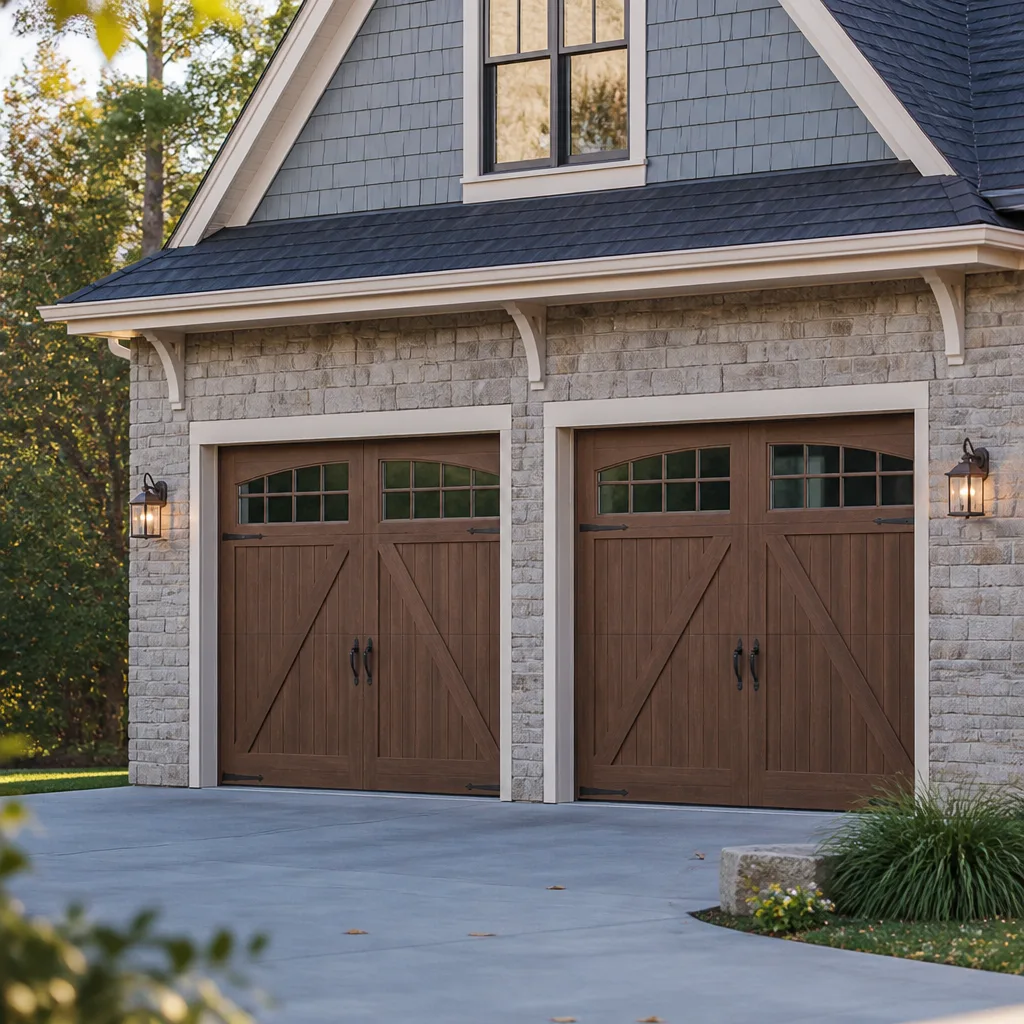 Carriage house
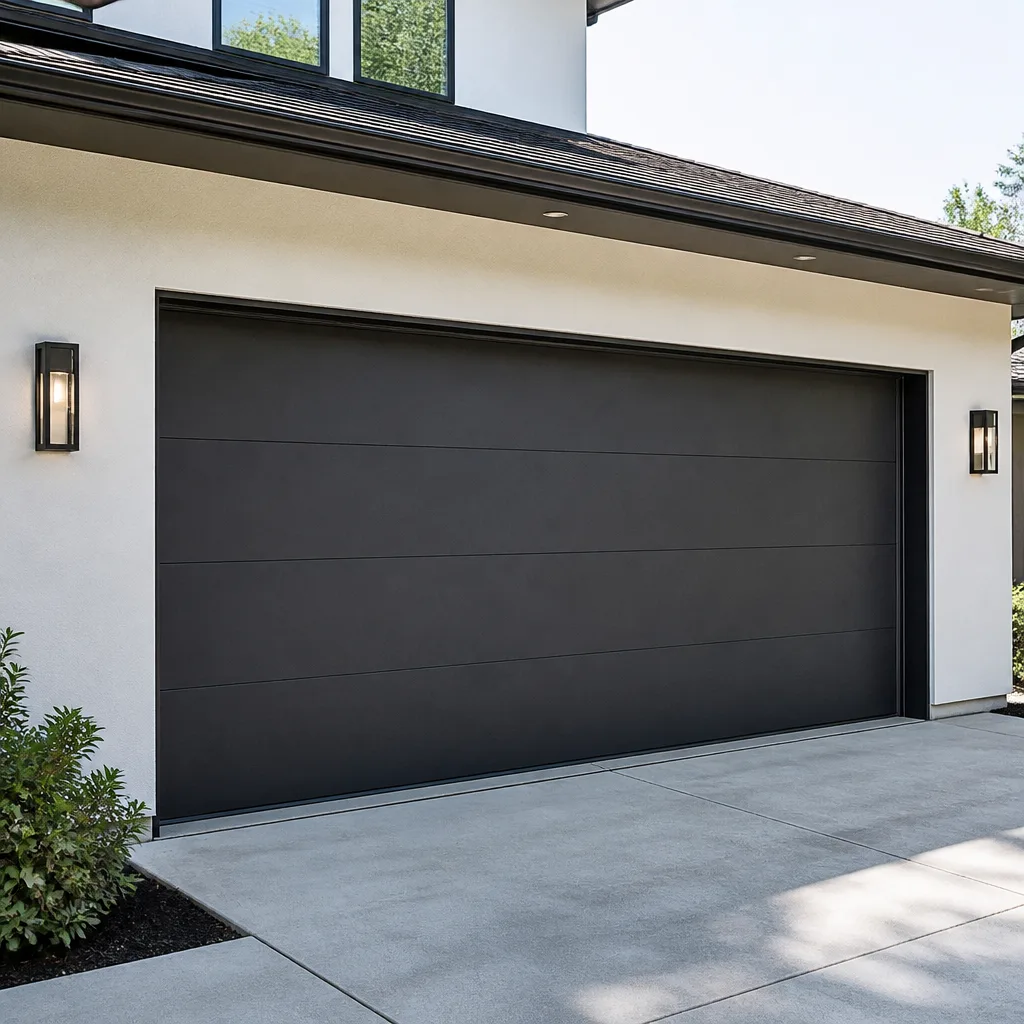 Modern flush
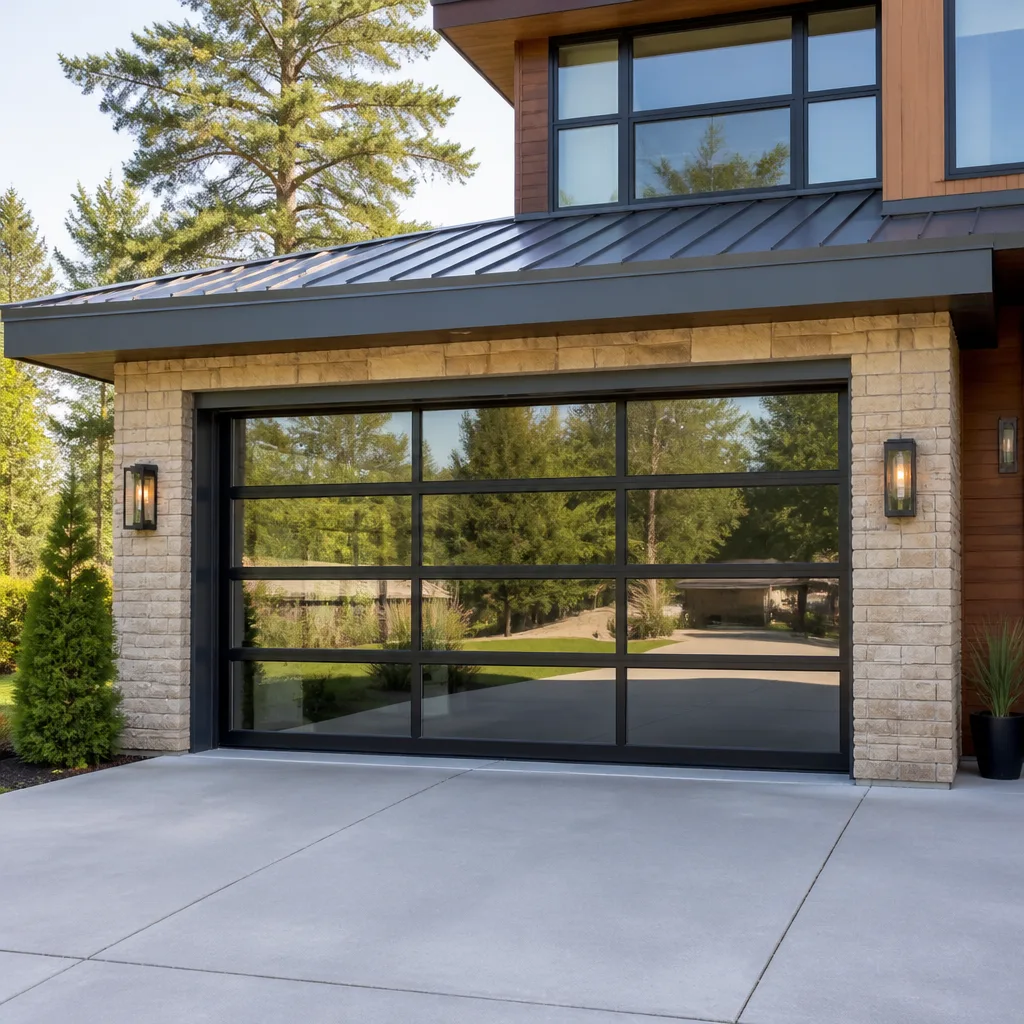 Full-view glass
 LiftMaster openers
 Chamberlain openers
Full 25-point door and opener safety check with every visit - springs, cables, rollers, tracks, and your LiftMaster or Chamberlain opener included
You get a price before we start. It does not change when the pro arrives.
Get your free estimateGarage Door Repair Maintenance Checklist for Bustleton Homeowners
Lubricating a cracked roller doesn’t maintain it. It hides the crack until the roller shatters mid-cycle, usually on a cold morning with the car inside and somewhere to be. That’s the flaw in most checklists: they’re ordered alphabetically, or by whatever the writer happened to think of first, and they tell you to spray and wipe before they tell you to look. A maintenance routine is only worth the sequence it follows. What you’ll find below is a checklist built around failure order, which parts give out first in Bustleton homes and what to inspect before you touch anything.
Quick Answer
A garage door maintenance checklist should run in failure order: springs and cables first, then rollers, hinges and tracks, then the opener’s balance and force tests, and lubrication last so you never seal a defect you haven’t seen. In Bustleton, check monthly in winter for road salt tracked onto the bottom section and the tracks, run the balance and auto-reverse tests every season, and clean and lubricate twice a year. Anything involving springs or cables gets inspected, never adjusted.
Styles & brands we work with
- Raised-panel steel
- Carriage house
- Modern flush
- Full-view glass
- LiftMaster openers
- Chamberlain openers
Table of Contents
- Why the Order of a Maintenance Checklist Matters
- Inspection Before Lubrication: What to Look For
- Springs and Cables: Look, Don’t Touch
- The Bustleton Corrosion Check: Road Salt and Winter Slush
- The Two Tests That Reveal Opener Wear
- Which Lubricants Are Wrong for Which Components
- Frequency Table: What to Check Monthly, Annually, and After Weather
- A Checklist That Fits Bustleton Housing
Why the Order of a Maintenance Checklist Matters
A sequence is a safety device. Do the visual and mechanical checks first and you catch a fraying cable, a cracked roller, or a loose hinge before you cover it in lubricant and forget about it. Do them last and you’ve spent your Saturday maintaining parts that were already past saving.
There’s a second reason the order matters, and it’s the one most published checklists miss: some checks depend on a clean, unlubricated surface. You can’t judge whether a torsion spring has lost tension by feel if the coils are slick. You can’t see a hairline crack in a nylon roller through a film of silicone spray. And you can’t run an honest balance test on a door whose tracks are gunked up with old grease and dust, because the door will drag for reasons that have nothing to do with the spring.
So the order we recommend for any Bustleton door looks like this:
- Visual inspection of springs, cables, drums and bottom brackets, from the floor.
- Inspection of rollers, hinges, and track condition.
- Clean the tracks and wipe down the sections.
- Balance test and auto-reverse force test.
- Clean and lubricate the moving parts that passed inspection.
- Test the safety reverse one final time and listen for changes.
Notice that lubrication sits fifth, not first. That single change fixes most of what goes wrong with home garage door maintenance. A door in Bustleton that gets this treatment twice a year tends to fail in the parts that are cheap to replace, and that’s exactly what you want. If you’d rather have a trained eye do the first pass, garage door repair is what we do, and the inspection is part of the visit.
Inspection Before Lubrication: What to Look For
Walk up to a closed door, stand safely to one side, and look before you touch. The inspection takes four or five minutes once you know what you’re looking at.
Springs
Torsion springs live on the shaft above the door; extension springs run along the horizontal tracks on either side. Look for gaps in the coil, a spring that hangs noticeably looser than its neighbor, and rust blooming at the coil ends. On extension springs, check that the safety cables threaded through them are intact and still attached at both ends. If you see a gap of an inch or more, the spring is broken and the door is being held by the opener and cables alone. Stop there and call.
Cables
Cables should be taut and evenly wound on the drums. Look for fraying strands near the bottom bracket, kinks, and slack on one side but not the other. A cable that’s jumped its drum is an emergency, not a maintenance item. Keep hands clear of the bottom bracket area entirely; it’s under heavy tension even when the door is down.
Rollers
Rollers are the small wheels that ride in the track. Nylon rollers should be smooth and round; steel rollers should turn freely with no flat spots. A cracked or flat-spotted roller will thump as the door moves. Check the stems too, because a worn stem lets the roller wobble in the hinge.
Hinges, Tracks and Panels
Hinges loosen with vibration. Tracks should be straight and parallel, with no dents or crushed sections, and the gap between door edge and track should be even top to bottom. Scan the panels for cracks, especially near the bottom section, where impact and moisture do their work.
Only once all of that looks sound do you reach for a lubricant.
Springs and Cables: Look, Don’t Touch
Springs and cables are the part of this checklist you inspect and never adjust. Torsion springs store enough energy to do real damage in an instant, and the standard advice from anyone who works on doors for a living is the same: a trained technician with the right winding bars handles those. There’s no safe homeowner version of that job.
Here’s what you can do, and it’s genuinely useful:
- Listen. A sharp bang from the garage, followed by a door that suddenly feels very heavy, usually means a torsion spring let go. Don’t try to open it with the opener.
- Look for the gap. A broken torsion spring shows a clear separation in the coil. A broken extension spring stretches out and hangs loose.
- Check the safety cables on extension springs. They’re the cables that run through the middle of the spring, and their whole job is to contain a broken spring. If one is missing or disconnected, that’s a call.
- Note the color code. Torsion springs are painted a color that identifies their wire size and winding. Mentioning the color when you call helps us match the right replacement. LiftMaster and Chamberlain openers are common on Bustleton doors, but the springs are matched to the door, not the opener.
Spring replacement is a two-spring job more often than not, since a matched pair wears at the same rate and replacing one leaves you back on the phone in a season. When a spring breaks, the door is essentially dead weight, which is why spring work sits at the top of our list of Garage Door Repair Bustleton priorities. The range for a single spring is typically $180 to $340, and a matched pair runs about twice that. The written estimate you get before work starts sets the final number.
The Bustleton Corrosion Check: Road Salt and Winter Slush
Bustleton winters put salt on the road and, sooner or later, salt in your garage. Cars pull in wet, the slush dries, and the residue settles on the bottom section, the bottom bracket, the hinges on the lowest panel, and the first few feet of track. Salt doesn’t just look bad. It eats the zinc coating on hinges and track, seizes roller stems, and pits the bottom panel where the paint is already thinnest.
From November through March, add this to the monthly pass:
- Rinse the bottom section, the bottom bracket area, and the lower track with plain water, then dry them. Do this on a mild day so the mechanism isn’t fighting ice.
- Wipe the track down with a damp cloth and dry it. Never flood a track with water.
- Check the roller stems on the bottom two hinges for stiffness. A roller that won’t turn is usually a corroded stem, not a bad roller.
- Touch up any paint chips on the bottom panel. Bare steel starts rusting fast in this climate.
This is the single most overlooked item in a Bustleton maintenance routine, and it’s why doors near the busier arterials tend to show bottom-section wear earlier than doors on quiet residential blocks. Salt splash and spray do the damage, not the cold itself. If the bottom panel is already bubbling or the track has rusted through at the floor, that’s the point where a repair decision turns into a replacement conversation, and one of our technicians can tell you which side of that line you’re on.
The Two Tests That Reveal Opener Wear
Your opener gives you two clear signals before it fails, and both are easy to run. Do them every season, and again any time the door starts sounding different.
Test 1: The Balance Test
This one tells you whether the door’s springs are still doing their share of the lifting.
- Close the door and pull the emergency release cord to disconnect the opener. The door should now move by hand only.
- Raise the door to about waist height and let go.
- A healthy door holds roughly where you left it, or drifts slowly. A door that drops or climbs on its own is out of balance.
- Reconnect the opener by running it until the trolley catches and the door re-engages.
An out-of-balance door makes the opener compensate, and that’s how openers die early. A door that won’t hold is a spring problem, not an opener problem, and no amount of opener repair fixes it.
Test 2: The Auto-Reverse Force Test
This one tells you whether the safety reverse is working. It’s the most important safety function on the whole system.
- Open the door, then close it. As it comes down, pass a firm object (a roll of paper towels works) under the door’s path. The door should reverse on contact.
- Then test the photo-eye safety sensors at the bottom of the tracks. With the door open, wave an object in front of one sensor’s lens. The door should refuse to close, or reverse if it’s already moving.
- If either test fails, stop using the door until it’s fixed.
Both tests work on the same principle across brands, whether you have a Raynor system, a Genie opener, or a newer Chamberlain with a phone app. The app doesn’t change the mechanics; it just tells you the door moved. If the door tests fine by hand but the opener stumbles, that’s a case for garage door opener repair, and the diagnosis is usually quick. Our technicians have up to 9 years of experience and are trained on eight major brands, which matters more than it sounds: openers from different eras use different force-limit adjustments, and knowing the unit saves time.
Which Lubricants Are Wrong for Which Components
Wrong lubricant on the wrong part does more harm than no lubricant at all, and the most common mistake is spraying WD-40 on the springs. WD-40’s standard formula is a solvent and light oil, not a lasting lubricant. On a torsion spring it strips what little protection is there and leaves the coils dry, which accelerates the rust and wear you were trying to prevent.
Here’s the short version of what goes where:
- Torsion and extension springs: a purpose-made garage door spring lubricant, or a lithium or silicone spray labeled for springs. Light coat, wipe the excess.
- Hinges and roller stems: a few drops of light machine oil or a silicone spray. Don’t soak them.
- Nylon rollers: silicone spray, sparingly. Steel rollers with sealed bearings need nothing at all; bearings that are open take a drop of oil.
- Tracks: nothing. Tracks are meant to stay clean and dry. Grease in a track collects dust and grit and turns into a grinding paste that wears rollers out.
- The opener rail and trolley: follow the manufacturer’s instructions. Many modern openers ship with a belt or a screw drive that takes no lubrication at all, and adding some is a mistake.
- The bottom bracket and cable drums: hands off. No lubricant, and no hands near them while the door is under tension.
One warning that saves people real trouble: never use grease on a garage door. Grease holds onto dust and grit, and grit does more damage to rollers and tracks than dry friction does. A light, clean film beats a heavy coat every time. If your door is already stiff or noisy, the problem is usually a worn roller or a bent track, not a lack of lubricant.
Frequency Table: What to Check Monthly, Annually, and After Weather
Not every task belongs on the same schedule. Here’s how the work divides up for a typical Bustleton door.
Monthly, From the Floor
- Visual check for broken springs (a gap in the coil) and slack or frayed cables.
- Listen to the door as it moves: a thump, a squeal, or a change in rhythm is a signal.
- Look for a cracked or flat-spotted roller, especially on the bottom two hinges.
- In winter, rinse salt residue off the bottom section and lower track, and check the bottom hinges for stiffness.
Twice a Year
- Clean the tracks and wipe down the panels.
- Lubricate springs, hinges, and roller stems, after inspection.
- Run the balance test and the auto-reverse force test.
- Tighten any loose hinge screws, and check that all brackets are firm.
Once a Year
- Full inspection of the opener: belt or chain tension, force limits, and the condition of the rail and trolley.
- Photo-eye alignment check, plus a wipe of the sensor lenses.
- Weatherstripping and bottom seal inspection. A hardened seal lets water and cold air in and lets the door rattle against the floor.
- Paint touch-ups on the bottom panel and any rust spots on the track at floor level.
After a Storm or a Severe Cold Snap
- Check the tracks for dents and the panels for impact marks.
- Test the opener’s force limits and auto-reverse again; cold can change how a door behaves.
- Look for ice and salt buildup in the track channels, and clear it before running the door.
- If the door was forced or the vehicle hit it, don’t cycle it again until it’s been looked at.
Keep the whole thing on a calendar and it’s about twenty minutes a month and an afternoon twice a year. That’s a good trade against a broken spring at the worst possible moment.
A Checklist That Fits Bustleton Housing
Not every garage door in Bustleton gets the same workout. The housing stock here runs from older single-family homes with single-car garages to rows of homes where the garage is one bay and the driveway is short. A short driveway means the car sits close to the street, and in winter it drags more slush in. A door that’s served a household for a long stretch tends to fail in the same order everywhere: springs, then rollers, then hinges, then the opener.
Two practical notes for local homeowners. First, doors on the busier streets collect salt and grit faster than those on quieter blocks, so the monthly corrosion pass in winter matters more. Second, our older housing stock often means a legacy opener, and a legacy opener paired with a modern door weight is a mismatch that shows up as a strain you can hear. That’s a fair reason to have the system looked at as a whole, not just the part that’s making noise. When a door has reached the end of its service life, a replacement is a measured job: we come out, take exact measurements, and give you a written price on a choice of door styles. If that’s where you are, garage door installation is the next conversation.
Our technicians work on whatever brand is on your door today. LiftMaster, Chamberlain, Genie, Clopay, Amarr, Wayne Dalton, Craftsman, and Raynor are all systems we know well, which means the diagnosis starts with experience, not a guess.
Common Mistakes to Avoid
- Lubricating before inspecting. A film of spray hides the crack or fray you needed to see. Check first, lubricate last, every time.
- Spraying WD-40 on the springs. It’s the most common mistake homeowners make, and it dries the coils out instead of protecting them. Use a proper spring or silicone lubricant.
- Greasing the tracks. Grease traps grit and turns into an abrasive paste. Tracks stay clean and dry, and rollers wear far longer for it.
- Skipping the winter salt rinse. In Bustleton, a season of salt residue on the bottom section and lower track is what turns a cosmetic rust spot into a rotted seam by spring.
- Tightening a torsion spring yourself. A wound torsion spring stores enough force to break bone. Springs get inspected and reported, never adjusted by a homeowner.
- Running the door when it’s out of balance. The opener is now lifting the door alone, and it wasn’t built for that. The balance test tells you before the opener does, sometimes too late.
- Ignoring a change in sound. A door that sounds different than it did last month has a reason. Diagnosed early, it’s usually a cheap roller or hinge; ignored, it’s the opener.
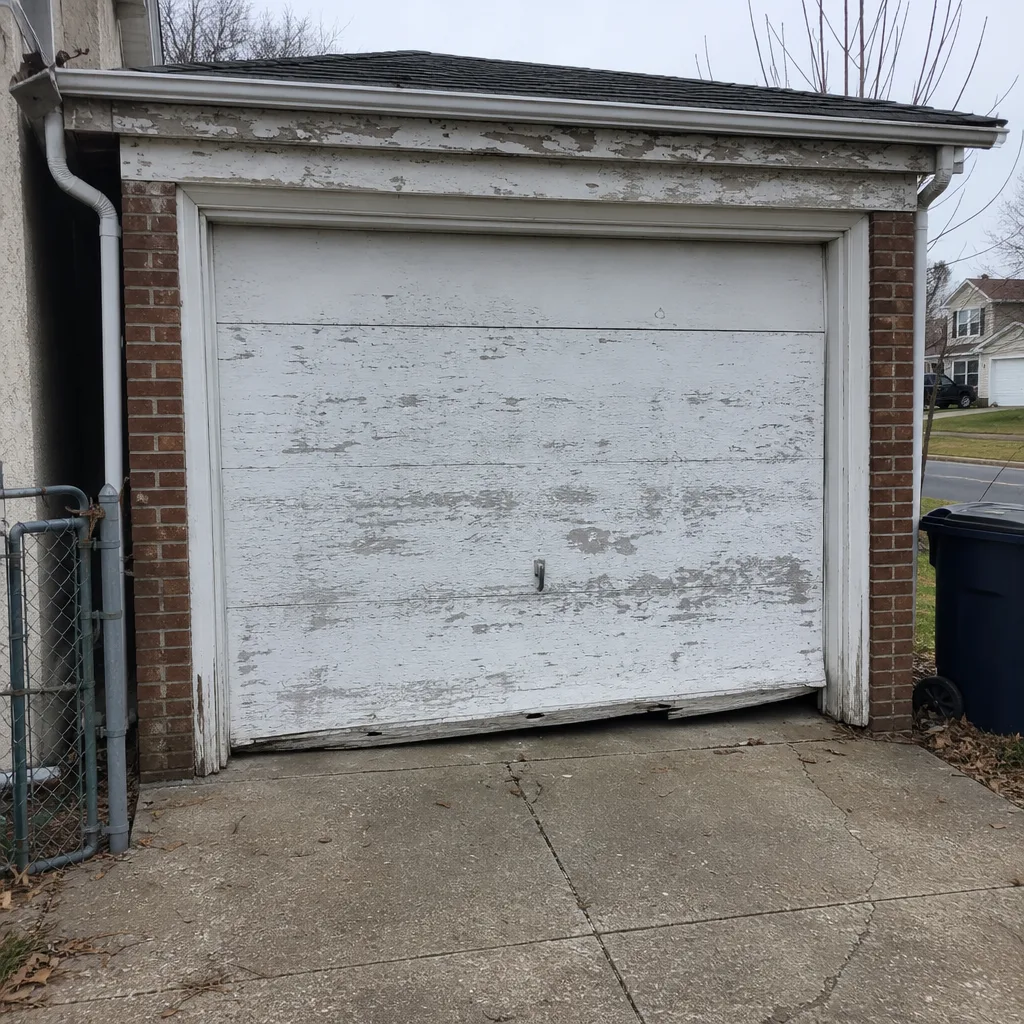
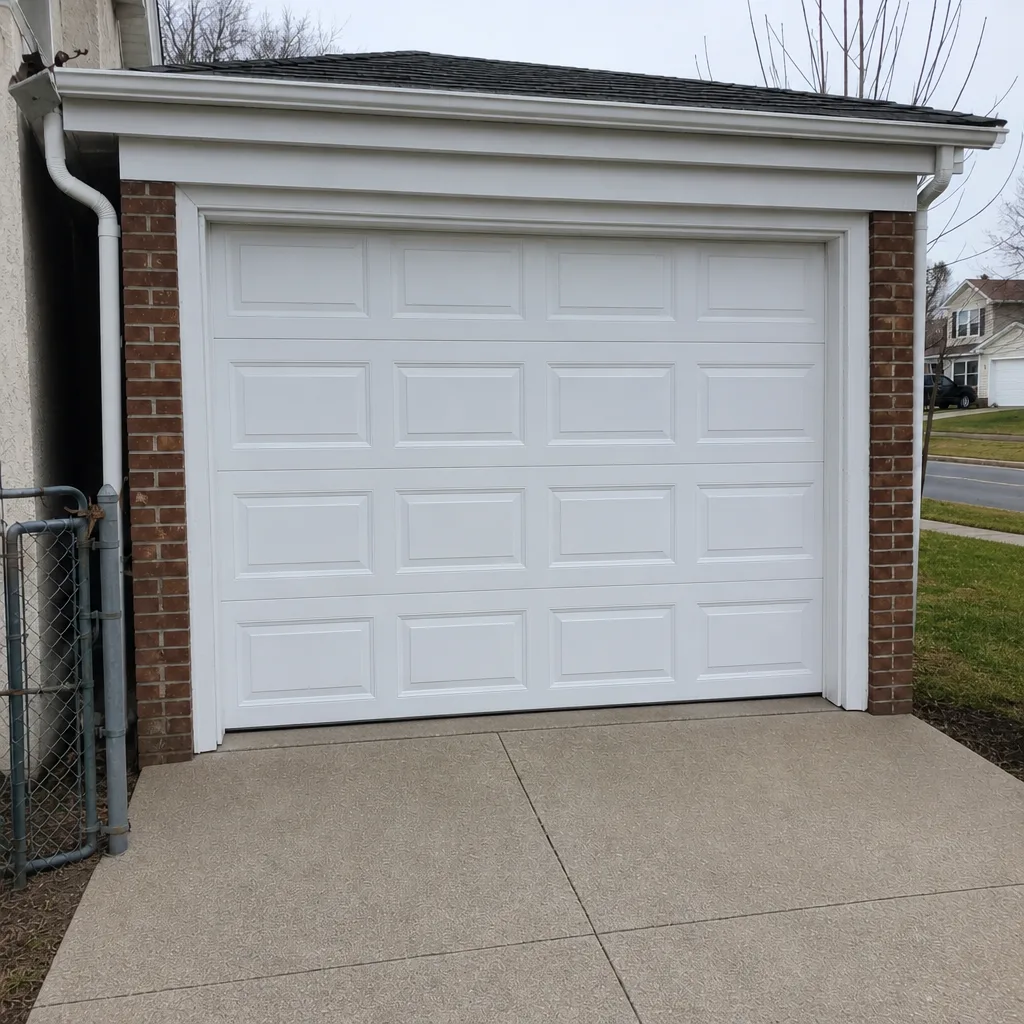
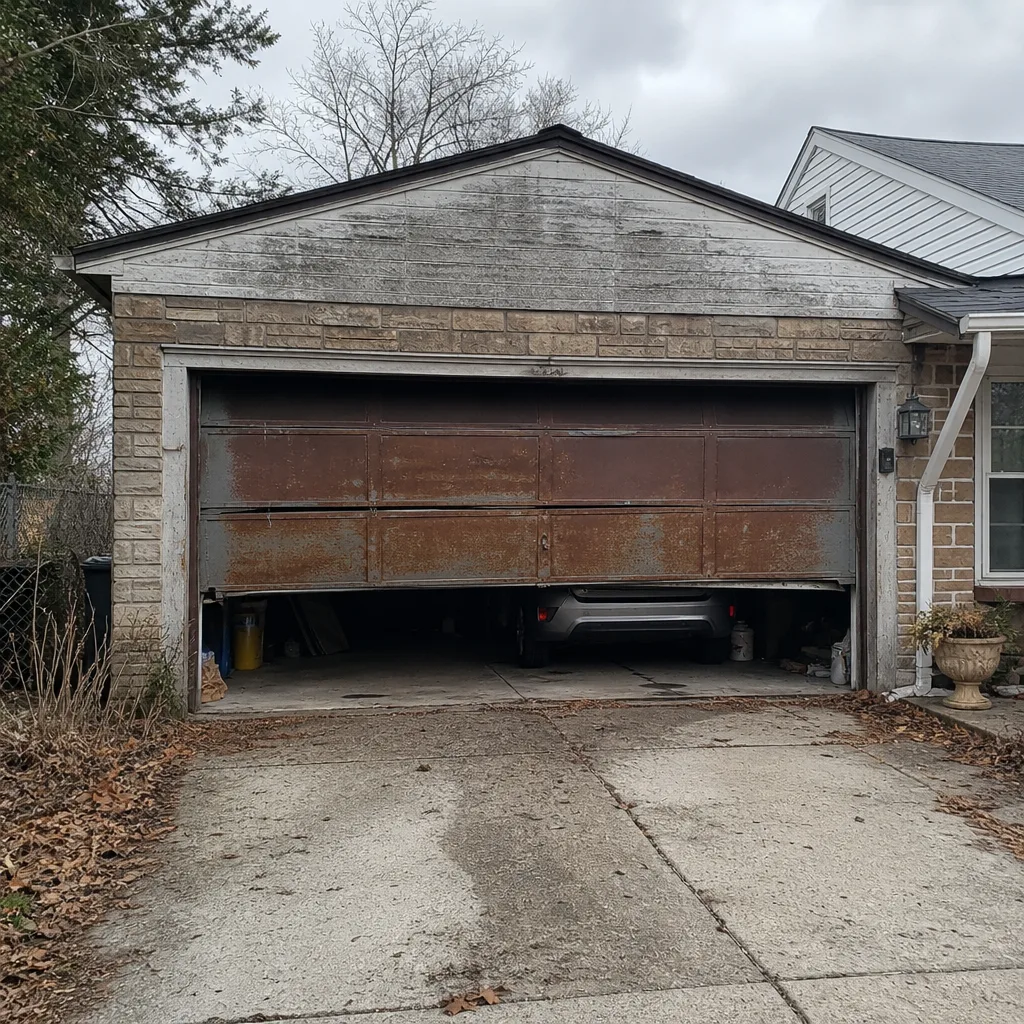
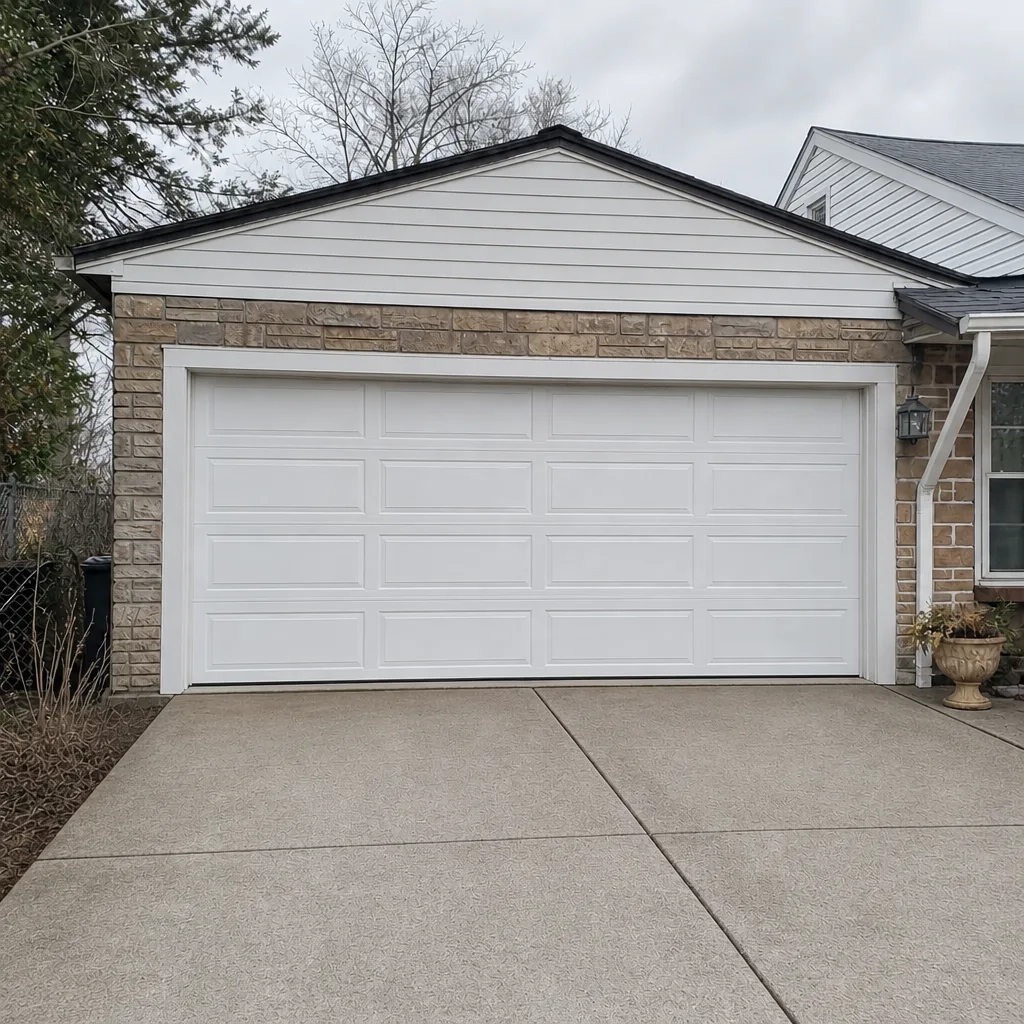
See the difference
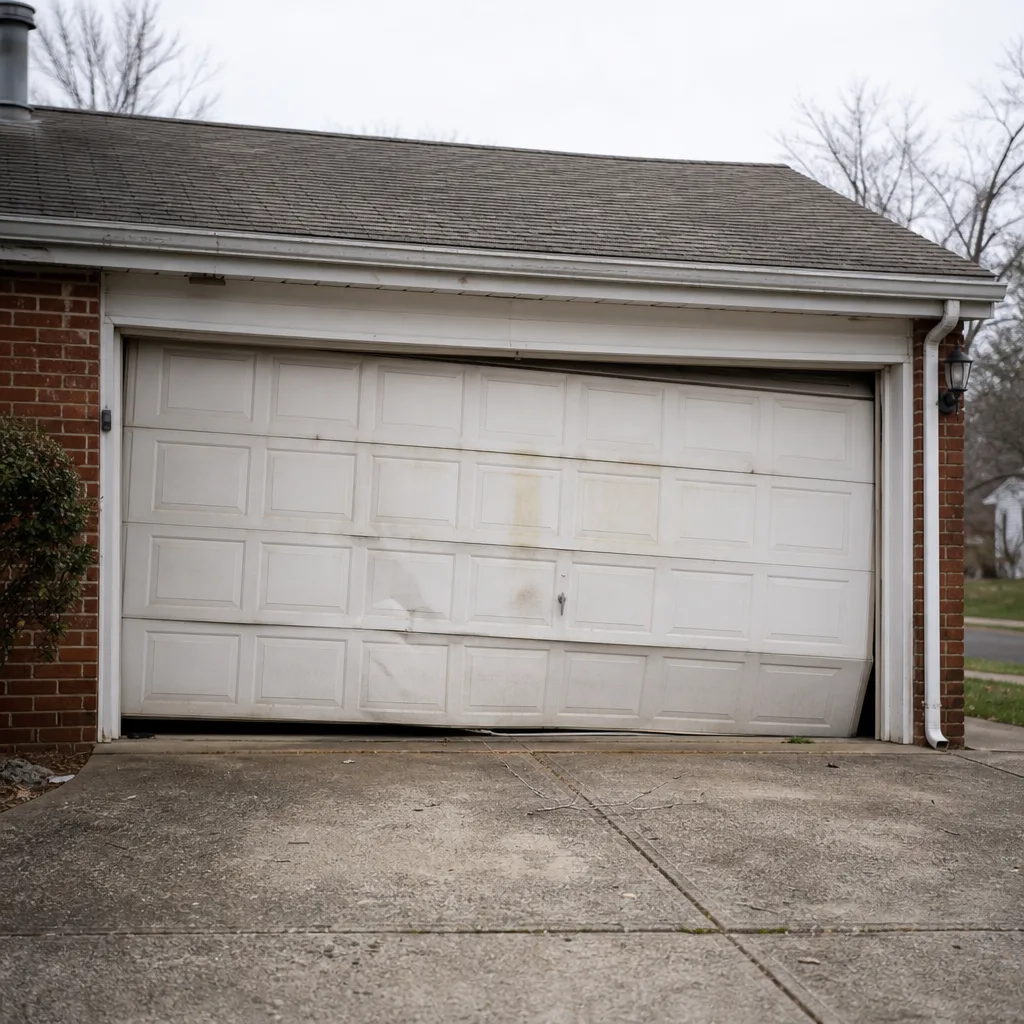 Before
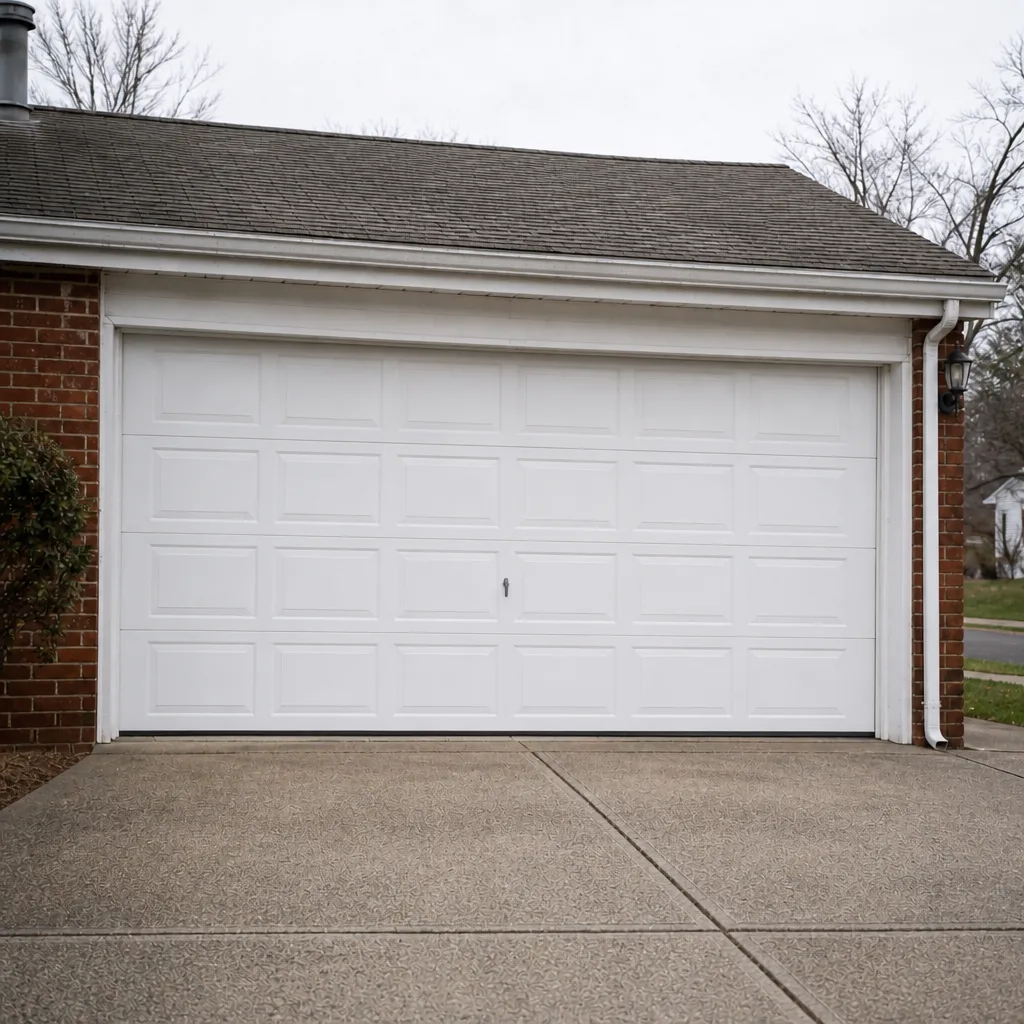 After
 Before
 After
 Before
 After
When to Call a Professional
Call a professional when a spring has broken, when a cable is frayed or has come off its drum, when the door is off its track, or when the opener runs but the door doesn’t move. Those aren’t checklist items; they’re repair jobs, and some of them are dangerous to be near. The same goes for a door that reverses for no reason, one that closes crooked, or a bottom panel that’s rusting through at the floor line. And call if the checks above turn up something you can’t safely assess from the floor, like a spring that’s lost tension without breaking or a track that’s pulled loose from its mounting.
Garage Door Repair Bustleton offers free estimates in Bustleton, and the price is quoted and agreed before any work starts. Call (844) 940-3088. We answer 24/7. Fast dispatch from 7am to 7pm, Sunday through Friday. When a door won’t open, won’t close, and can’t wait, emergency garage door service is one of our core offerings, not an exception.
Frequently Asked Questions
Monthly visual checks and twice-a-year cleaning and lubrication is the right rhythm for most homes, with a winter salt rinse added from November through March. Run the balance and auto-reverse tests every season. Twenty minutes a month keeps you ahead of the failures that cost the most.
Yes, you can lubricate them from the floor with a proper garage door spring or silicone lubricant, and you should avoid WD-40 because it dries the coils out. You cannot adjust or wind them yourself. That’s a trained-professional job and the risk of injury is real.
Because grease in a track collects dust and grit and grinds the rollers down. The moving parts (springs, hinges, roller stems) benefit from a light film; the tracks carry their rollers best when they’re clean and dry. That single distinction heads off most premature roller wear.
A single spring is typically around $180 to $340, and a matched pair usually runs about twice that since the two wear together. The written estimate you get before work starts sets the final price. Call (844) 940-3088 for an exact quote; estimates are free.
Yes, and sooner is better. A change in sound is usually a roller, a hinge, or an opener under strain, and it’s the cheapest thing on the list to catch early. A trained technician diagnoses it in one visit rather than guessing, and if the part is fine, we’ll tell you so.
Sometimes the bottom section can be replaced on its own, and sometimes the track and panel damage has gone far enough that a new door makes more sense. It depends on how far the corrosion has spread. Have it checked before the next winter, and you’ll have a clear answer and a written price either way.
The Bottom Line
Your maintenance checklist should follow failure order, not a tidy list of tasks. Inspect before you lubricate, keep the tracks clean and dry, use the right product on the right part, run the balance and auto-reverse tests every season, and rinse the winter salt off the bottom section before it eats the seam. Springs and cables get looked at and reported, never adjusted. Do that twice a year with a monthly look in Bustleton, and your door will fail in the cheap parts. Call (844) 940-3088 for a free estimate. We answer 24/7, with fast dispatch from 7am to 7pm, Sunday through Friday.
Written by the team at Garage Door Repair Bustleton.